Doosan Bobcat Offers Seven Air Compressor Irrigation Blowout Tips

Cooler temperatures mean the start of the winter-prep season, especially for irrigation professionals and residential homeowners. This includes properly winterizing or “blowing out” your irrigation system to protect your sprinkler system from freezing, cracking and other damage in winter conditions. Using a commercial air compressor effectively removes water from the mainline through drains and sprinklers at the lowest elevation points and in low-lying areas. Then compressed air moves any residual water in the piping system out the open drains.
But, how do you get started winterizing your irrigation system? Follow these seven tips to better prepare your sprinkler system for winter.
1. Ask the Right Questions
It’s important to perform irrigation winterization procedures before colder weather arrives. When water freezes, it can expand 8% to 10% in volume, which can cause fittings, sprinklers, valves, pumps, pipes and other parts of irrigation systems to burst or break.
Keep the answers to these questions top of mind before you get started with the winterization process:
- What type of application will you be working in (residential, small or large commercial system or golf course)?
- How many zones will there be?
- How much hose is needed?
- How long do you plan on taking to complete the process?
- What type of pipe does the irrigation system consist of?
2. Select the Right Air Compressor
Whether you are working in a residential setting or on a large commercial golf course, winterizing an irrigation system starts with turning off the water and draining the system. Once you’ve drained the water, connect the air compressor to the drain valve. For residential settings, a P185-HP150 (PA185v) or C185 (PA185) air compressor with the pressure regularly adjusted to 80 to 185 cubic feet per minute (CFM) will effectively push water out of the system piping.
A compressor that provides insufficient CFM (volume) could allow the pressurized air to flow over the top of the water in low spots instead of pushing it out of the irrigation line. Any remaining water in the pipes will eventually freeze when the ground temperature drops. The resulting ice can lead to cracking and other potential damage to the polyethylene or PVC pipe commonly used for irrigation systems.
If you are working on a golf course or large commercial system, several sizes of air compressors can be used. The P185-HP150 (PA185v), C185 (PA185), P250-MHP185 (PA250v), P425/HP375 (PA425v), XP825/HP750 (PA750p) or HP915 (PA915) can all adequately remove water from the system. However, the duration of the blowout will be shorter or longer depending on the CFM size chosen. Golf course systems require a higher CFM air compressor, which will generate excessive heat. To avoid damage to piping systems, use a compressor that has IQ (extra filtration and aftercooler) or an aftercooler.
If the golf course irrigation system has multiple zones, you can blow out the irrigation system one hole at a time or combine holes or zones. You could use a P185-HP150 (PA185v) for one hole, but it may take longer for the air volume to get through the pipes. You may decide to use a P425/HP375 (PA425v); filling up the pipes faster would reduce run time, labor and fuel costs. Choose your machine size depending on the duration needed to complete the job.
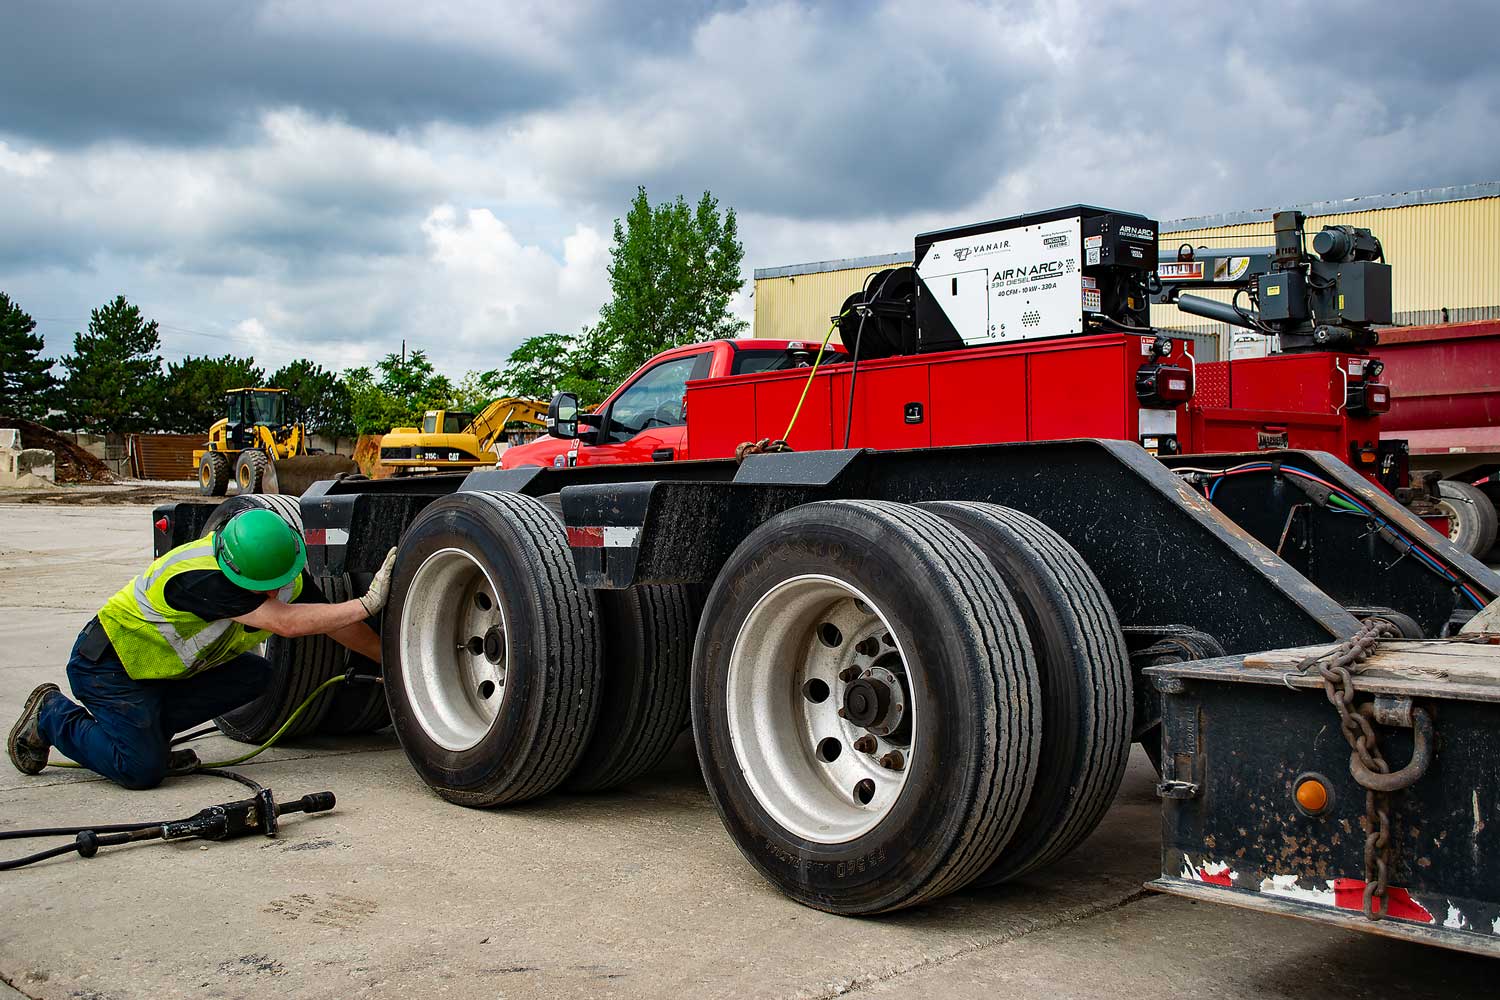
3. Wear Appropriate Personal Protective Equipment
Always stay outfitted with personal protective equipment (PPE), such as gloves, ear protection and approved safety eyewear, when winterizing your irrigation system.
4. Blow Out the Lines
Once you’ve made sure the compressor’s discharge valve is closed, open one of the manual valves on your irrigation system. Start with the zone that is farthest from the location of your air compressor. This allows air to flow through the lines and push water out. Gradually work your way through each zone, moving closer to the air compressor as you go. This ensures that each section of the system is properly cleared of water.
A few tips to note:
- Make sure to have the correct amount of hose and proper hose whiplocks for safety on all hose connections.
- Do not run the compressor without at least one of the zones or valves in the system open to minimize the risk of bursting a pipe or fitting in the system.
- Only activate each sprinkler once. Subsequent activations with no water will result in high-speed activation, excessive pressure spikes or friction, which can possibly result in equipment damage or personal injury.
- Never allow the sprinkler to operate on air alone for more than two minutes. Stop blowing once a fine mist appears from the heads and move to the next zone.
- Do not stand directly over any commercial or larger turf sprinkler when manually activating at the sprinkler or attempt to disassemble the system while under pressure.
5. Inspect and Store Equipment
Once you’ve completed blowing out the zones, inspect the entire irrigation system to confirm that all water has been removed and everything is dry. Properly disconnect and store the air compressor, hoses, fittings and adapters in a dry and secure location.
6. Keep Detailed Records
Maintain detailed records of your irrigation system layout, including the location of each zone and valve. This documentation will be invaluable when it’s time to reactivate the system in the spring.
7. Turn to the Experts
If you have a large or complex irrigation system or if you are unsure about any part of the winterization process, it’s a good idea to seek professional assistance. Professionals have the experience and equipment to ensure that the job is done correctly.
By following these expanded steps for winterizing your irrigation system with an air compressor, you’ll help protect your system from freezing and potential damage so it’s ready to perform at its best when warmer weather returns.
Cody Blythe is product manager of air compressors for Doosan Bobcat North America.