6 Steps to Successfully Using Mulching Attachments on Skid Steers and Track Loaders
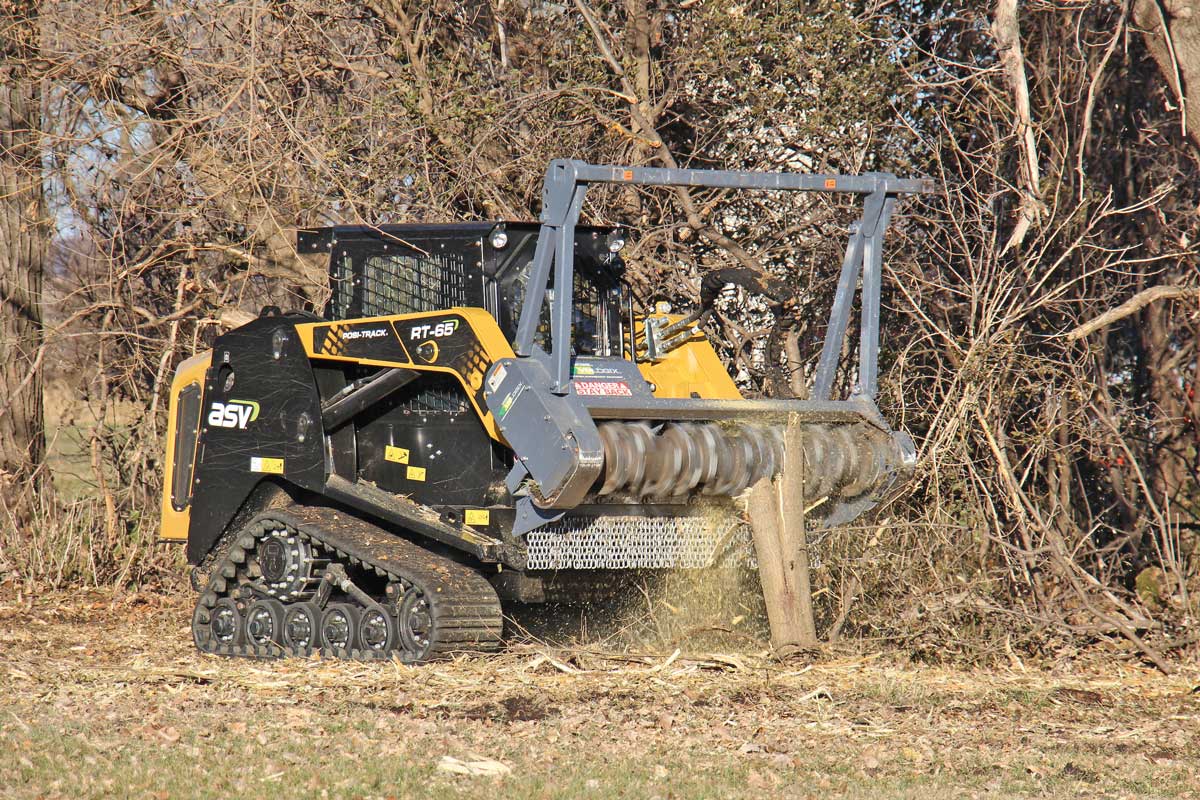
Today’s mulching heads are paramount tools for any job in vegetation management. These attachments make it a breeze for quickly mulching vegetation, but having the best tool doesn’t go far if it’s used improperly. Imperative factors go well past what brand and model to buy, and we’ll go through all the steps below for success with your mulching needs with skid steers and excavators.
1. Matching Attachments
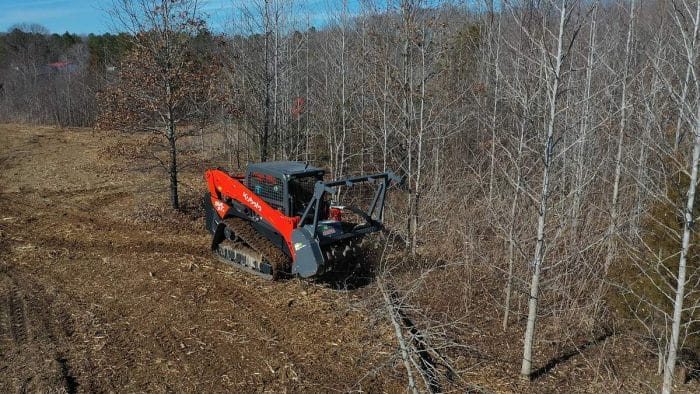
Before you start any job, you need to make sure you have the right tool, as nothing will get done if you ordered the wrong attachment for your skid steer or excavator. The determining factor for matching the correct vegetation attachment to your skid steer is the hydraulic horsepower range. If you’re not sure what you’re working with, you can calculate hydraulic horsepower by multiplying the gpm and psi of the power unit’s hydraulic system and divide the result by 1,714. For instance, a track loader with hydraulic ratings of 36 gpm at 3,450 psi would have a hydraulic horsepower of 72.5 (36 x 3,450/1,714). Use that number to ensure the power unit has adequate hydraulics to run the attachment.
For excavators, they are categorized by weight class. After that the motor needs to be adjusted for the hydraulic output of the power unit. Just like with skid steers, it’s important to make sure the excavator has enough dedicated hydraulic flow and pressure to maintain sufficient operation of the mulcher without sacrificing performance of the other hydraulic controlled operations like track and boom movement.
There is a wide range of equipment for hydraulic horsepower levels and even lower flow models. Performance typically rises with higher flow models; so whether it’s a skid steer or an excavator, models with higher flow will usually outperform those with lower flow.
Another difference between skid steers and excavators is that the latter lacks a universal mounting system, and that means the end-user needs to work with the equipment dealer to ensure the appropriate mounting style is installed for the type of excavator being used.
2. Picking Your Teeth
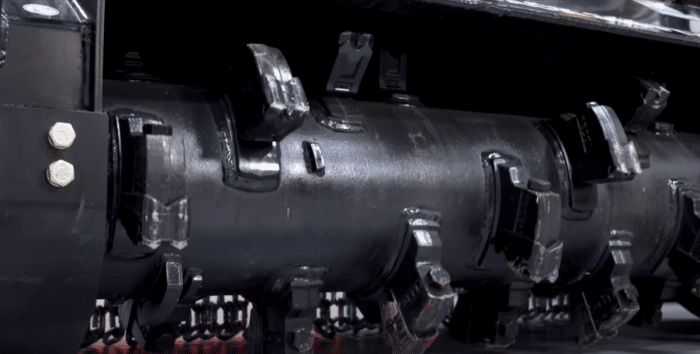
As mentioned before, some of the biggest factors for efficiency come from the smallest components. The teeth on your mulcher are imperative for performance, and the optimal cutting tooth will vary with the job conditions. A commonly used option is carbide teeth, as they’re durable, cost effective and require little to no maintenance. They’re a good all-around option, especially if operating in rocky terrain, since they can withstand impact more than other tooth options.
However, other operators prefer working with sharpened knives for teeth, as they are more aggressive at mulching, leave a finer particle size and have higher productivity than carbide teeth. The drawback is that they’re not as durable or maintenance-free. The knives will require regular sharpening and hold a higher risk for damage if they strike rocks or other hard objects. There are also beaver teeth. These are more cost effective than knives but offer less slicing performance. The four-point design helps them pick material off the ground for further processing.
3. Taking the Rotor for a Spin
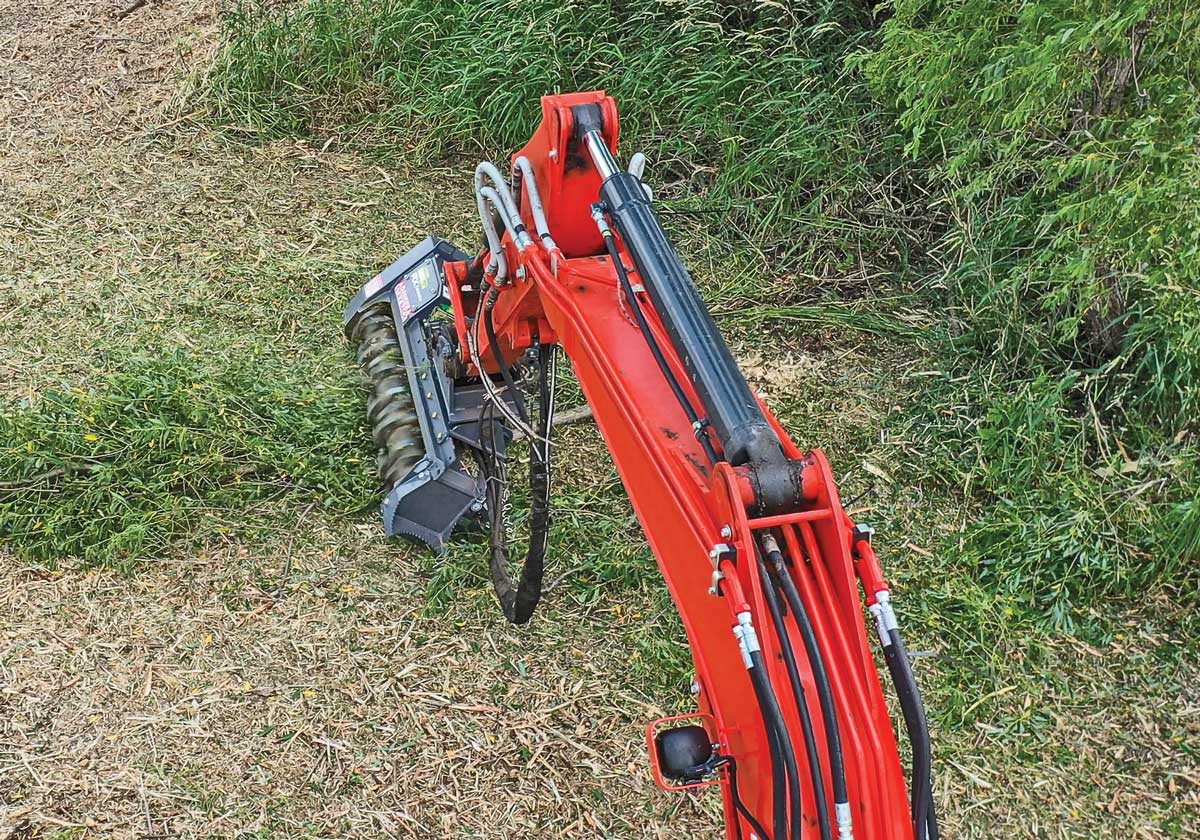
The next component is the rotor. Many of today’s mulchers have some sort of limiting device that prevents the attachment from taking on too much material at once, thus slowing the rotor and hindering performance.
Bite-limiting rotors come in two main types — ring-style and depth gauges. Depth gauges are welded on the rotor in front of the teeth to limit the material they take on, much like raker teeth on a chain saw. Ring-style rotors have been around for quite some time and have metallic rings around the rotor between every tooth to keep material from entering the machine past them. However, this feature can be overly limiting, and the rings may create excess drag on the rotor. Debris can also get stuck between the rings and require downtime to remove.
Depth gauges were developed more recently to compensate for shortcomings of the ring style. For example, depth gauges don’t cause excess drag because the gauges aren’t in constant contact. Ring styles can also have issues picking material off the ground for further mulching, whereas depth gauges improve the ability to bite into the material and pick it off the ground.
There are some rotors that don’t have bite-limiting or depth control devices. However, if the mulcher is equipped with knives, operators may run into issues with it biting in too aggressively and pulling too much material into the rotor at one time which causes a sharp drop in rotor speed making it difficult to maintain smooth, steady production.
4. Accessorize for Success
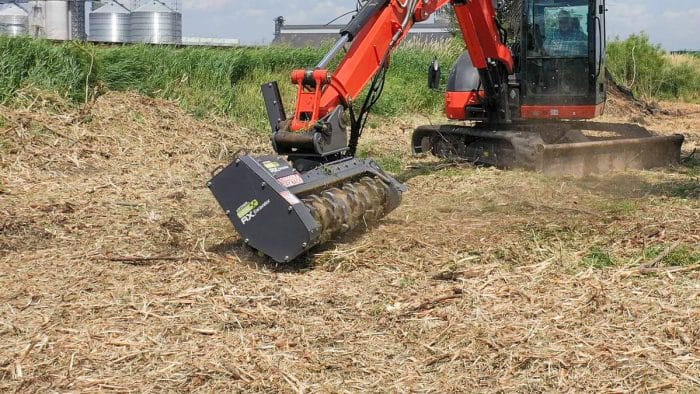
Accessories can make huge changes to the breadth of your abilities for vegetation management. One example is a tilt hitch, which allows excavators to tilt the mulcher left or right for greater versatility, such as exposing the teeth or holding trees in place while mulching them down. The range of motion can vary from one manufacturer to another, but some of the most versatile tilt hitches offer equal movement in both directions. This accessory is highly recommended for excavators, as not having the range of motion when mulching standing vegetation or picking it off the ground will greatly prolong a job.
Excavator operators can also look to add spade hooks to their mulchers. Their function is to assist in positioning material to be mulched, and a hydraulic thumb can be added for better use of the spade hook.
For long jobs and hot temps, hydraulic system overheating can bring your job to a standstill. Operators in these conditions will benefit greatly from installing an auxiliary hydraulic cooler on their equipment. It’s a roof-mounted attachment for skid steers and compact track loaders that will provide extra cooling to the hydraulic oil — as much as 140,000 BTUs per hour.
5. Safety First
The most important step is ensuring you work safely and correctly. To best know what not to do, all operators should thoroughly read their operator’s manual. While it may seem obvious, it’s a paramount resource for most information you could ever need. The manual offers many important safety measures, such as not allowing any people or animals within 300 ft when operating and to clear out non-vegetative objects such as rocks, wire or garbage before mulching an area.
6. Proper Operation
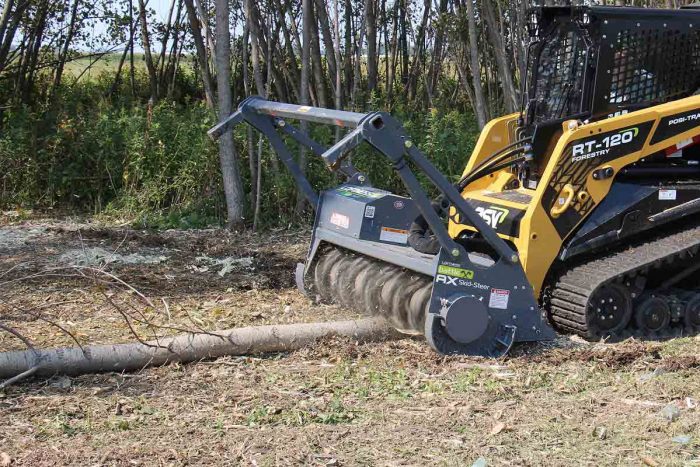
Everyone would like to speed through every job as quickly as possible. However, a marathon runner doesn’t win by sprinting out of the starting line; they work at an efficient pace to get the job done. Getting too aggressive and putting too much pressure on the machine will be detrimental to performance by slowing the rotor. It will also risk overheating the hydraulic system, so be sure to operate within the power unit’s hydraulic capabilities. A rule of thumb is to operate 500 psi under the maximum hydraulic relief pressure.
These six steps, along with the help from your manual and local equipment dealer, will keep you and your equipment working efficiently for vegetation management projects to come.
Clint Major is a product development coordinator for Loftness.


