Let’s Learn about Thumb Attachments for Excavators: An Appendage of Power
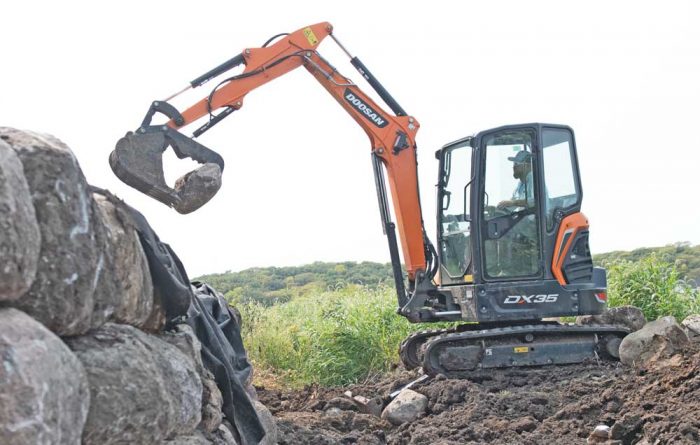
Mini excavators are powerful and versatile machines, and they fuel your productivity. Attachments play an important role in how well your excavator works for you. Knowing your options is crucial to your success. Excavators can complete many different tasks, depending on the attachments paired with them. A thumb on a mini excavator can make it a versatile tool in construction, landscaping or recycling. A thumb, also known as a clamp, is a vital excavator attachment that can add productivity and flexibility. You should know when — and how — to use it properly. Attachments hold the power of deciding how effective your mini excavator will be at a certain job. It is essential to understand what thumb options you have and how to make the right decision.
Do I Need a Thumb?
While thumbs are valuable excavator tools, they don’t make sense for every circumstance. When preparing for a job, ask yourself whether you can do the task more efficiently with a thumb and ask your sales specialist about available options. Thumbs are great for supplying extra grip, securing material and moving it. There are a lot of tasks where they can be useful. If you think how often your own thumbs come in (um) handy, then you can start to get a feel for how helpful these tools can be.
“If you think about thumbs in terms of your hand, it adds a lot of versatility to grab and hold onto a cup,” says Aaron Kleingartner, dealer and product marketing manager at Doosan Infracore North America. “It’d be very hard to hold onto a cup without your thumb, and that’s where that general term thumb comes from for this attachment. It’s the ability to grab and hold something.
“Opposable thumbs for humans and animals change how they interact with their environment,” he says. “The ability to use a thumb on an excavator changes your ability to interact with your jobsite.”
So When Do You Need a Thumb?
“Anytime you need an attachment to grab something that doesn’t fit in the bucket,” Kleingartner says. “The thumb is an extra resource for you to help secure that material or to maintain a grip so you don’t lose it as you’re working with the machine. So, if you’re working in scrap or recycling, a thumb is a fantastic addition to the machine.”
Thumbs are also effective in construction, utility and landscaping applications. They are a worthwhile investment if you have jobs that call for an extra grip.
“If you’re working in landscaping, you can use a thumb to retain mulch in the machine and help spread it on the jobsite,” Kleingartner says. “You can grab a boulder and place it precisely in a hardscape environment. The thumb becomes very versatile in the use of the machine.”
However, there are jobs that either don’t require a thumb, or it makes little sense to use one. For example, if you are transporting fine material like sand that doesn’t need the extra grip, it may not make sense to install a thumb on your machine.
What Are My Choices?
Thumbs are a common attachment. They aren’t hard to track down. Most — if not all — manufacturers have thumbs available for their mini excavator models. Your choices are available in two main categories: rigid or hydraulic.
“One of the biggest differences between a rigid and a hydraulic thumb is the versatility they provide,” Kleingartner says.
An operator sets the position of a rigid thumb manually. This type is helpful if you frequently use other hydraulic attachments. Many mini excavators come with one set of auxiliary hydraulic lines installed on the arm. Owners can use a rigid thumb with an accompanying hydraulic attachment.
Despite that benefit, rigid thumbs tend to be the less popular option. Their shape makes their operation awkward sometimes as it may interfere with other tasks. New technology has led a majority of operators to favor hydraulic thumbs instead of rigid thumbs. According to Kleingartner, some manufacturers, including Doosan, no longer offer rigid thumbs for their machines from the factory.
A hydraulic thumb connects to the machine at the base of the arm and includes hydraulics to precisely control the position of the thumb.
“The hydraulic thumb has a much greater ability to grab different sizes of material,” Kleingartner says. “It can move with the bucket if you articulate it, and it gives you better placement options and better pickup options than a rigid thumb.”
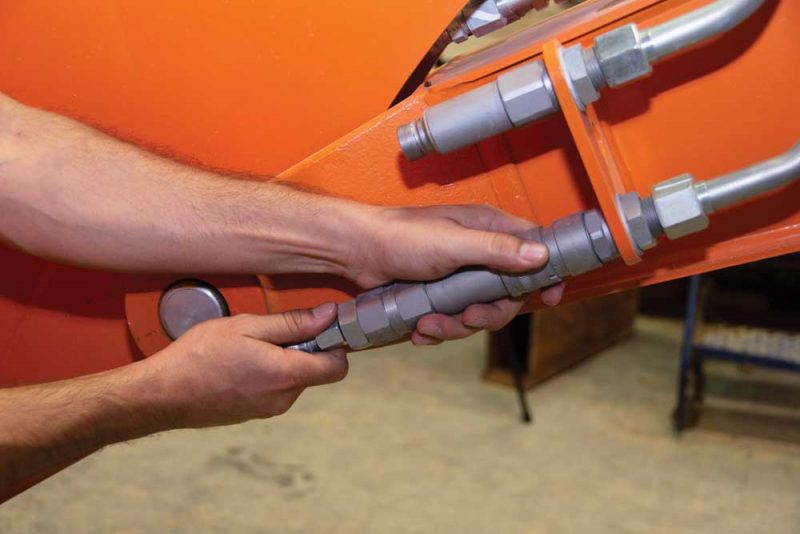
Since the hydraulic thumbs have a lot of upsides, there are now more options for operators with only one set of hydraulic lines. You can choose to install a second set of hydraulic lines or, with Doosan, owners can order diverter kits for the main line. So, even if a hydraulic thumb doesn’t seem the best fit for your mini excavator, there are still ways to make it work.
Where to Purchase?
The next thing to think about is where to purchase the attachment. It is a good idea to buy a thumb from the same manufacturer of your bucket or paired attachment.
“They’re designed to be able to mesh with the teeth of the excavator’s buckets so that they overlap,” Kleingartner says. “Each manufacturer has a design that incorporates the design of the bucket into the design of the thumb. The bucket and the thumb mesh and they work together, not against each other.”
The other thing to consider is the added weight of the thumb. According to Kleingartner, the added weight of the thumb reduces the excavator’s lifting capacity. While this shouldn’t be a deterrent, it is an important factor to take into consideration.
Maintenance Tips
Keep your thumb in good working condition. Consider adding a couple of steps to your maintenance routine. Perform a daily check on the auxiliary hoses and the cylinder on the machine. Do a visual check to make sure there aren’t any cracks or broken tines. Most of the attachment checks are visual and only add a few seconds to your routine machine inspections. Thumbs are a worthwhile attachment for your machine. Whether you choose a rigid or hydraulic excavator thumb, they can provide versatility and efficiency and they don’t require much extra upkeep. That sounds like a thumbs up to me.
Rena Sletten is a strategic communications writer for Two Rivers Marketing.
Installing a Thumb
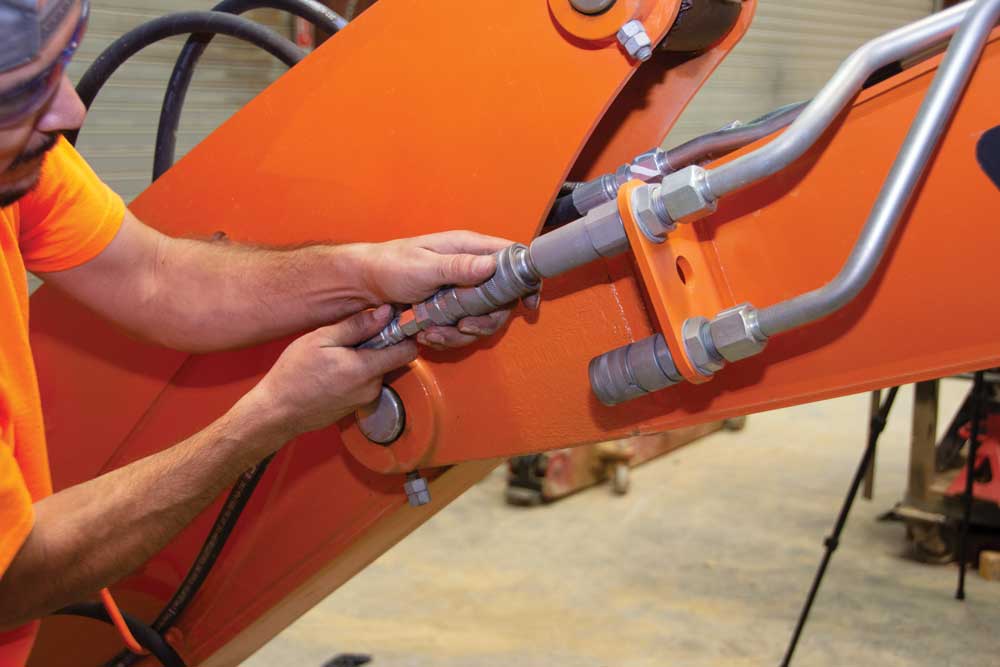
This is not an exhaustive step-by-step installation process, rather an overview of the critical steps of the process.
- Step 1: Make sure you have all the pieces or hardware that you will need. Look through your manual for a list and have the tools necessary handy.
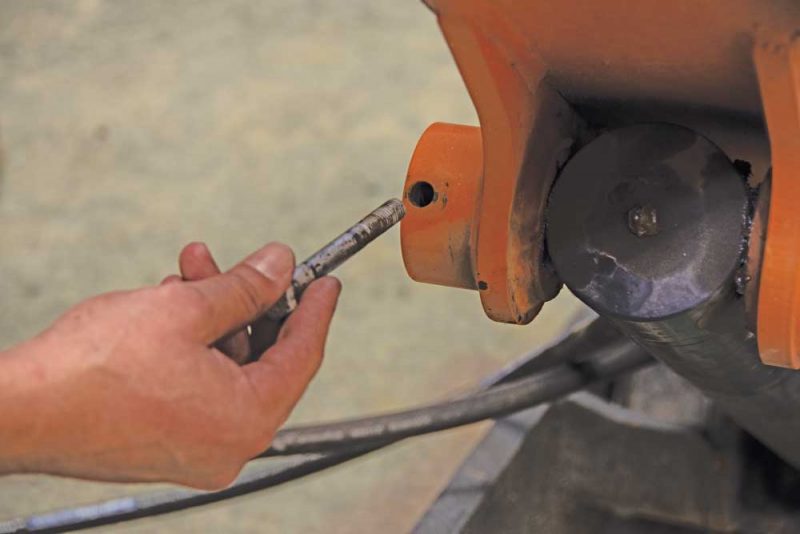
- Step 2: Install the base or the thumb on the end of the arm pin.
- Step 3: Install the cylinder from the thumb to the arm of the machine.
- Step 4: Install the hoses to connect the thumb and mini excavator controls.
- Step 5: Final inspection. Make sure all the parts are secure and in the proper place before operating the machine.

