Transforming to Tracks

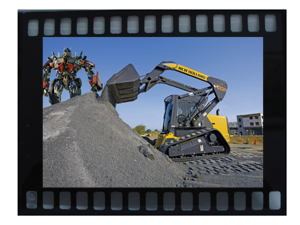
To construct a summer blockbuster analogy, skid steers are the Transformers of the construction and landscape industry. With its quick-attach plate and hundreds of unique attachments, this protean piece of utility equipment is like a Constructicon, able to shift gears, change implements and dig, saw, load, cut, lift and work through most jobs and jobsites. But sometimes even a skid steer has a tough time adapting to difficult terrain (mud, sand and demolition sites for example). That’s when you call in the loader’s changeling counterpart called the track loader, which rolls onto the worksite with a dedicated undercarriage, focused on conquering diverse ground challenges.
Traversing slopes, plowing through sand and traveling over muddy landscape sites are the demanding conditions for a compact track loader. For example, when operating on slopes, the weight of the track loader shifts and places a certain amount of stress on one undercarriage at a time. Given that compact track loaders can weigh significantly more than their wheeled skid steer loader cousins, that’s a considerable amount of stress. That’s why manufacturers build these tracked construct’a’bots like little Sherman tanks.
“The undercarriage is as important to the machine as the attachment or engine,” explains Dave December, New Holland Construction brand marketing manager for compact track loaders. “It is the combination of components that brings the machine to its assigned task. Without the undercarriage, a compact track loader can do limited work, similar to a car with flat tires.”
Each machine’s dedicated undercarriage gives added tractive power (great in dozing operations), yet dispenses the weight of the entire machine through multiple track contact points for a lighter footprint. Extra power, lower ground pressure and added flotation and traction — the advantages of compact track loaders can add ammo to any contractor’s arsenal. To help the owners of track loaders understand the variety of undercarriage and track options on the market, we contacted nine manufacturers to get their options, opinions, products and insights into maintenance, selection and usage for these tough-minded tracked transformers.
Keith Gribbins is managing editor of Compact Equipment, based in Peninsula, Ohio.
Operation Efficiency
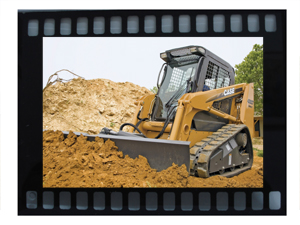
Jim Hughes, Brand Marketing Manager for Case Construction, Talks Track Loader Techniques
 Rubber tracks on compact track loaders excel in certain applications, offering performance advantages not possible with other ground-contact alternatives. To maximize these advantages over the longest possible period, there are simple operating guidelines that should be followed:
- Regularly monitor track tension. Loose tracks can detrack while over-tightening will cause power loss and excessive roller and idler wear, in addition to tearing of the tracks. Refer to the Operator’s Manual for specific track inspection and tensioning procedures.
- Control track spinning when filling the bucket by using loader hydraulics to penetrate into the material. Unnecessary spinning of the tracks can accelerate wear and cause cuts in the tracks.
- Make every effort to balance the direction of a turn. Continuous turning to the same side can cause asymmetrical wear and accelerate wear of sprocket teeth, track tread, guide lugs and roller flanges.
- Promote maximum track life by monitoring sprockets, rollers and idlers. Excessive wear to sprockets or other undercarriage components will result in premature wear to the tracks.
- Rotate your tracks. The track pattern on Case compact track loaders is not directional specific, meaning you can not only rotate the tracks from side to side, but you can reverse them too. Just like your car, tracks develop wear patterns. By rotating your tracks, you maximize their life by balancing out the wear patterns.
There are certain scenarios which, whenever possible, should be avoided due to the associated, potentially negative consequences, including:
- Making spin or pivot turns. Such operations cause accelerated wear and increase potential for de-tracking, particularly if track tension is not set to specifications. Operators should make wider, more gradual turns.
- Traveling across a slope. Constant operation on a slope or side hill can accelerate wear to the guide lugs, idlers and rollers by putting greater forces to one side than the other. Whenever dealing with inclines, it is best to climb straight up or down the slope. Any turns are best performed when on level ground.
- Traveling or operating units in or on abrasive materials. Such operations will cause cuts and “chunking out” of the lug surface of the tracks, resulting in shorter track life. These materials include: broken stone, jagged rock, iron rods, scrap iron or other recycled materials. Rocky laden soils or similar conditions may cause tracks to de-track or damage due to stones becoming stuck in the idler or drive sprockets.
- Traveling with one track on a slope, uneven ground or on a projecting object, and the other track on a flat surface. Operating tracks with the outside or inside edge of the track turned up can cause damage to the edges and lugs of the rubber track. Do not allow the sides of the tracks to come into contact with curbs or walls.
Use of rubber track-equipped loaders in harsh environments or on destructive surfaces such as rocky terrain, gravel, concrete or metal debris can cause premature wear, deterioration and failure of the rubber tracks and track components and is not recommended. Follow these operational insights and count the hours, months and years you can save on the life of your undercarriage and track loader.
The Replacements
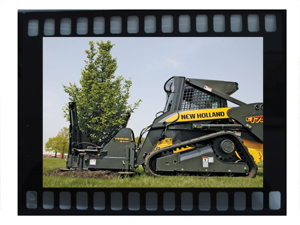
Dave December, New Holland Construction Brand Marketing Manager, Discusses Track Replacements
 As you might expect, track loaders are armed with tracks. Giving them a low ground pressure (most units have between 2 to 5 psi) and high traction, the tracks on a track loader allow the machine to travel lightly over diverse situations. These tracks are also perfect for working on or around shifting, granular materials (sand, gravel and dirt). But even tough tracks sometimes need to be replaced or even put back on if you throw one. When reinstalling or replacing, follow these procedures, which are specifically for New Holland track loaders, but are good insights for most units:
- Before raising the machine off the ground, begin by marking the drive sprocket in relation to the planetary assembly (red mark). Also feed a chain between the sprocket and track by operating the hydrostatic drive until it is at approximately the 11:00 position.
- Using a 13/16-in wrench, loosen the jamb nut on the grease zerk for the tensioning cylinder. When this is loosened, grease will be forced out of the tensioning cylinder out of the jamb nut.
- Using an A-Frame, hoist or similar lifting device, hook onto the chain located between the sprocket and track. Lift the track high enough so the teeth of the drive sprocket will fit through the openings between the track teeth. Loosen the retaining bolts on the drive sprocket and remove the drive sprocket.
- After the drive sprocket has been removed, lift the machine and place it on jack stands.
- Jack the machine up high enough so the track teeth will clear the lower idlers.
- To remove the track from the rear idler, install a pry bar between the track and the idler. Then pry the track out far enough that the track teeth clear the rear idler. While one person pushes on the pry bar, another person must push the track towards the outside of the machine.
- To reinstall the track, begin by working it over the front idler. Then make certain that the track teeth clear the planetary housing on top and that they are centered between the lower idlers.
- To reinstall the track onto the rear idler, place the pry bar between the track and the idler and pry until the teeth clear the idler. When the teeth clear the idler, have someone strike the track with a hammer to move the teeth over the idler.
- Lift the track high enough so the drive sprocket can be reinstalled onto the mounting flange and planetary hub. You may have to lower the machine or jam the track to prevent it from spinning. Tighten the drive sprocket using a star pattern. The initial tightening torque is 50 to 120 ft lbs. The final torque is 208 to 235 ft lbs.
- To adjust the track tension, be sure the track is off the ground. Tighten the fitting for the grease zerk and use a grease gun to pump grease back into the tensioning cylinder. Continue pumping grease into the tensioning cylinder until the distance between the track and the two center idlers is between .47 to .75 in.
Tracking Your Options
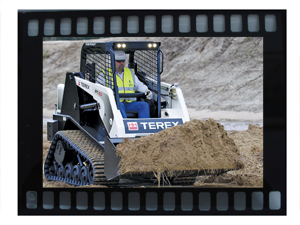
Rick Harris, Product Specialist, Explains the Many Track Options at Terex
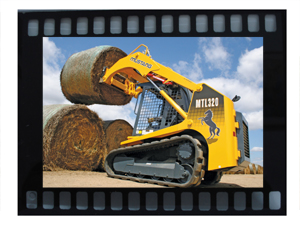
 While uneven terrain, slopes and muddy or snowy ground conditions can be challenging and tough on skid steer loaders, compact track loaders are designed and built to handle these types of conditions. Correct operation of your track loader will ultimately determine overall efficiency and performance of the machine, but track selection can also help. Each manufacturer has their own set of unique track options, but ASV Terex might have the most.
Terex ASV now offers as many as three different track options on select machines. The standard track is the General Purpose Track, which features a moderate tread pattern that the company recommends for use in the widest range of applications, from wet, soft ground to working on soft, delicate landscaping, to operations on pavement or asphalt. These tracks are made of a special rubber compound that is tough, durable and relatively lightweight.
Terex ASV also offers a special Turf Track on select machine models. Turf Tracks are ideal for landscapers and anybody working over fragile or improved surfaces. They feature a special smooth tread that allows machines to maneuver on virtually any surface with barely a trace. Scuffing and rutting is practically eliminated, even when used in sharp turns. Terex ASV recommends its Turf Tracks for applications where the surface needs special protection and the conditions are generally dry. Many landscape construction contractors could use these tracks throughout much of their work season, whether on dirt or turf.
Users of Terex ASV mid-sized machines now have the option of outfitting their machine with a new specialized track option that improves machine performance in the most extreme ground conditions. These new Extreme Terrain Tracks are wider and feature more aggressive treads to give users added traction for working through the most difficult conditions with better results than ever before. The new Extreme Terrain Tracks give machine users yet another option for even higher performance in difficult ground conditions. Because these tracks are designed for use in special, extreme and soft ground conditions, Terex ASV does not recommend them for use on normal, dry or firm ground conditions.
Many manufacturers also offer various track widths, usually ranging from 12 to 15 or 17 in.
Product and Procedural Tips
Kirk Dilly, Product Training Specialist, Gives Operational and Owner Insights
 Operation and maintenance are core values for compact track loaders owners. Knowing that hard turns on steep grades can place a lot of horizontal stress on the tracks and in extreme circumstances, can cause a track to come loose is crucial intelligence for everyday operators. Taking extra care when operating on steep grades and keeping tracks tensioned properly helps minimize this possibility.
It’s also important to minimize the operation of a track loader on hard abrasive surfaces like concrete or asphalt. These surfaces will greatly accelerate wear on tracks because of the “scrubbing” effect of turning and dragging tracks over an abrasive surface. If an operator needs the traction or lower ground pressure that only a track loader affords, yet they need to operate in a harsh environment or on an abrasive surface, it is recommended to use a rubber tire skid loader with over-the-tire style steel tracks. Owner/operators will be much happier with the wear and maintenance costs with steel over-the-tire type tracks in an extremely abrasive or harsh environment.
Tracks are changed by releasing tension pressure in the front idler sprocket and then simply pulling the track off with a bar for leverage. Track wear is determined by a visual inspection of tread depth and a visual check of the integrity of the track itself. Mustang also recommends that the drive sprocket gets replaced when the tracks are replaced. This ensures a proper fit between new components and maximizes the life of both the tracks and the drive sprockets. Dealers can order a sprocket wear gauge for a very nominal cost that measures the amount of wear on a drive sprocket.
PM for CTLs
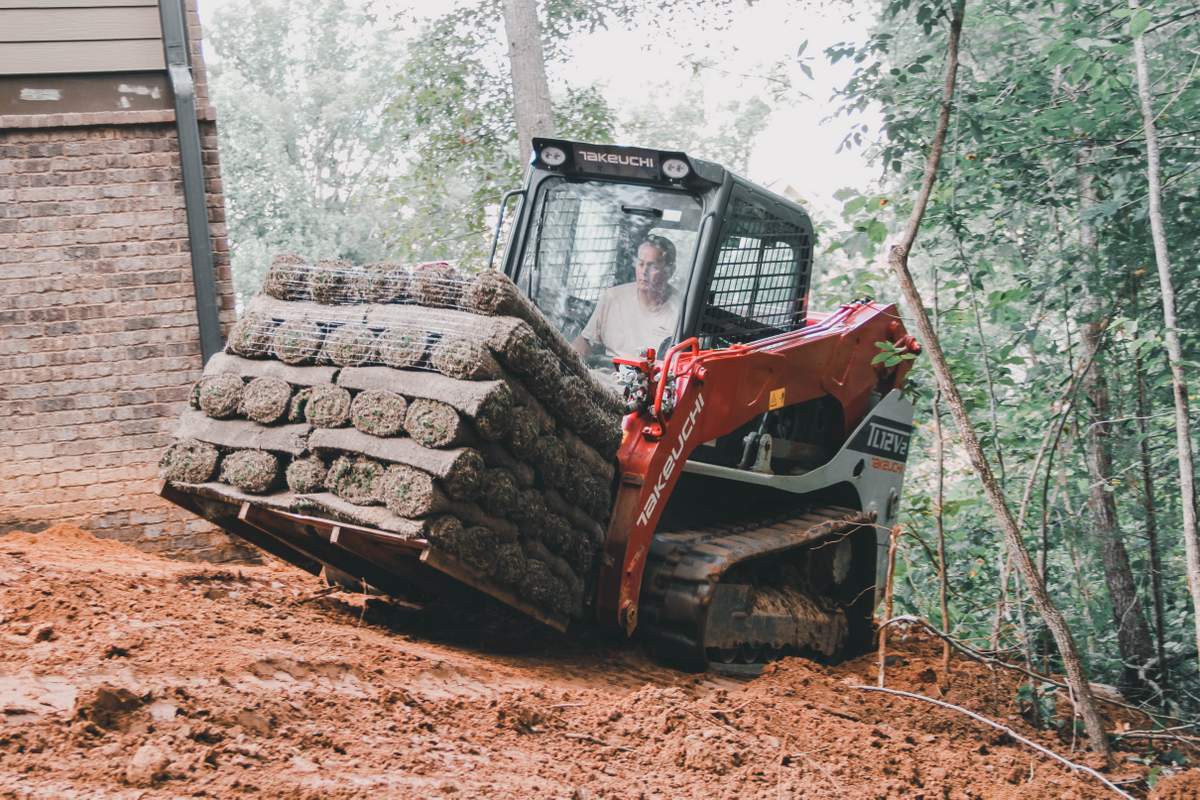
David Steger, Takeuchi Product Manager, Provides a Maintenance Primer
 Track maintenance, which includes proper tensioning, cleaning and inspection of the undercarriage, should be done on a regular basis and will depend on the operating conditions. Please follow the schedule outlined in the Operator’s Manual, but undercarriage inspections should be more frequent when operating in muddy or abrasive conditions.
Check the tracks for cuts, punctures or tears. Sprockets and rollers should be inspected to ensure they are in good condition with no damage, excessive wear or flat spotting, which may be an indication of material buildup or bearing seizure. Any oil leakage from rollers, hoses or travel motors should be repaired immediately. It is recommended to replace the sprockets each time new tracks are installed. Takeuchi cylinder guards fully protect the cylinder and can be easily removed for cleaning or repair.
Many factors that limit track life are in the hands of the operator. A well-trained operator can reduce maintenance costs by preventive operation: making wider turns, controlling slippage, understanding the surface you are operating on and regulating the load — all contribute to longer undercarriage life. Aftermarket replacement tracks can sometimes be cheaper to purchase, but be aware that the quality of tracks varies. When shopping, consider the total operating cost of the component. A cheaper initial purchase may add up to higher cost per hour over the OEM brand when factoring variables such as initial cost, life expectancy, machine downtime, replacement labor and warranty and support.


Comments are closed here.