Let’s Learn About Proper Hammer and Breaker Attachment Maintenance and Operation

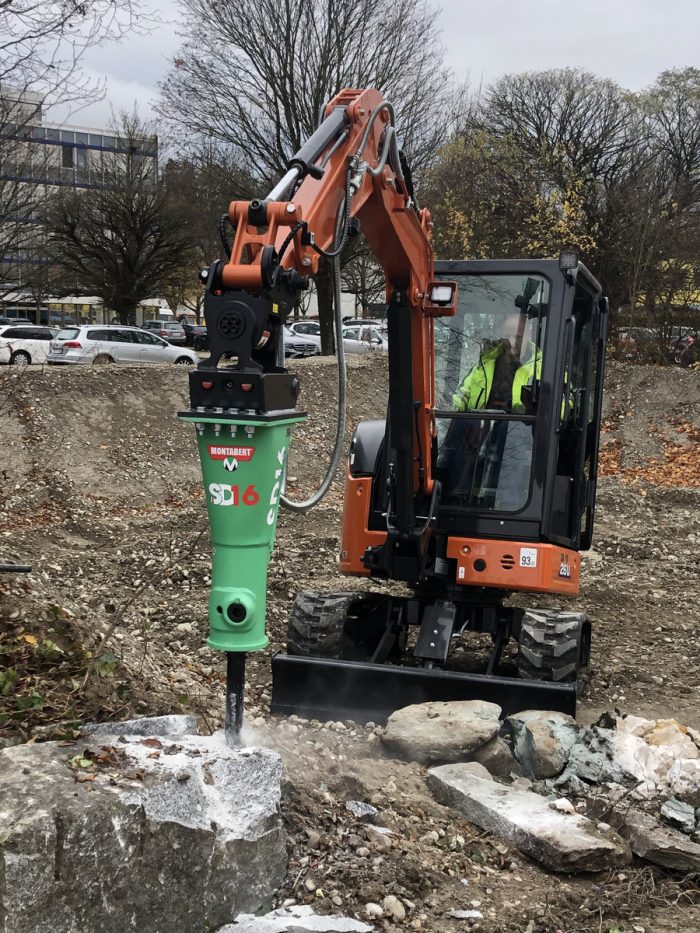
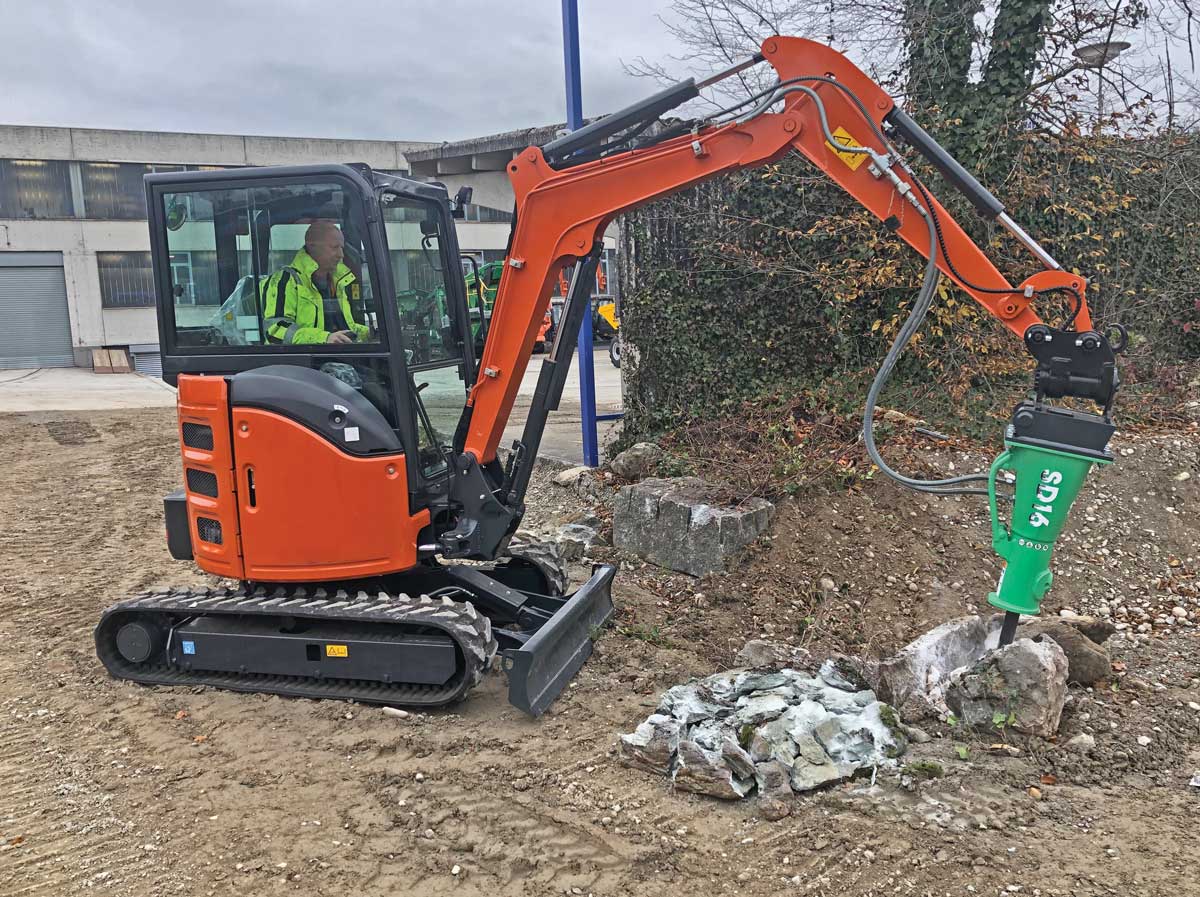
Like their larger counterparts, compact breakers are hardy attachments that can reduce large rocks and hunks of concrete or asphalt down to usable, crushable, loadable pieces of rubble. But ignoring routine breaker maintenance will significantly reduce their effective lifespan. Below are some tips and advice to help contractors and operators achieve optimal performance and life from their compact breakers.
Know Your Machine: The Inspections
At the root of preventive maintenance is familiarity with the carrier and attachments. Knowing the machines makes daily pre-shift walk-arounds and weekly inspections more meaningful, and signs will become apparent if something is amiss — before the situation turns into downtime.
Daily Walk-Around: When working with compact breakers, daily inspections should include looking for damaged hoses, cracks in the breaker housing, deterioration on the bracket cap pins and wear on the tool tip. In most compact breakers, the upper and lower suspensions are not visible, so operators should watch out for anything that simply looks or feels off — such as unusual or excessive movement of the breaker’s power cell within the housing — which is a sign that the suspensions are heavily worn and should be replaced. This is where a good familiarity with both the breaker and carrier will go a long way.
Weekly Inspections: Every week, or approximately every 40 hours, operators should check to make sure hardware on the attachment is still tight. Because strong impacts can loosen torque washers and nylon lock nuts, check the bracket cap bolts — the mounting hardware — to make sure they are properly torqued. Make sure the hose adapters connecting the hoses to the breaker are adequately torqued. Visually inspect the tool, checking for chips or cracks in the upper and lower portions.
Look for bushing wear: Typically, each brand and model of breaker is provided with its own special check-gauge that is model-specific and is used to slide out the bushing for inspection. Because they are wear items, bushings must be replaced when worn or damaged. Hash marks on the check-gauge will correspond to wear on the breaker tool in 25 percent increments. The gauge also helps in checking for wear on the retainer pin and the shank stop.
Grease Is Your Friend
In addition to daily and weekly inspections, grease is the most important maintenance protocol for operators to embrace. Without grease, the breaker will experience friction, wear and heat — all of which contribute to accelerated bushing and tool wear and weakened steel. Heat takes a toll on everything within the breaker and shortens its effective life. Almost universally, breakers require greasing of the bushing and tool every two hours via a grease nipple near the bottom of the breaker. Only use the manufacturer’s brand or the recommended brand, and follow the manufacturer’s requirements for grease amounts.
In general, the smallest breakers will use about six pumps of grease with a manual grease gun. At the larger end of the compact range, breakers may require up to 10 pumps of grease every two hours. While too little grease causes heat and friction, too much grease also can create problems. Excess grease can infiltrate the point between the strike piston and tool, carrying contamination and causing “blow-by,” where the grease is forced past the seals and into the breaker’s cylinder.
Mini excavators are making big waves on jobsites all over North America. Click here for the latest news on these machines and the companies that make them.
Hydraulics, Hoses and Hammer Tools
The breaker’s hydraulic oil system comprises a closed circuit that runs between the breaker and the carrier. Because of this, the hydraulic oil and filter should be changed based on the carrier manufacturer’s recommendations. Most breaker manufacturers will have a specific — but common — viscosity oil that is recommended. When changing the hydraulic oil, it is important to not skip changing the filter, as it performs a critical function in keeping the hydraulic oil clean. In fact, the carrier’s hydraulic oil filter often will separate out particles to a point that the oil is cleaner than it was when new.
Hose wear should be noted during the daily inspection, and any damaged or worn hoses should be replaced promptly. When changing hoses or switching between breakers and other attachments, be sure not to drag hoses on the ground, as this will lead to hydraulic oil contamination. Cap or plug the breaker hydraulic hoses when the breaker is not attached to a carrier. The goal is to keep the hoses as clean as possible when changing them, or when changing attachments. Hammer tools require changing based on wear — which is why they need to be inspected daily and weekly. Not only do the tips get shorter as the tool wears, but the upper portion can experience chips or cracks. In this case, the tool must be replaced immediately. Metal particles, unlike rock dust and chips, will snag and remain in the front guide, ultimately damaging the breaker.
A Note on Nitrogen
On fully hydraulic breakers, nitrogen accumulators are completely sealed, and the nitrogen should never need to be recharged. As long as the hydraulic breaker is working correctly, the nitrogen level remains constant. Nitrogen-fired — or gas-fired — breakers, however, are not fully hydraulic and do not have a sealed accumulator. With this style of breaker, nitrogen can leak out during storage or with every strike of the hammer. As the nitrogen pressure becomes low, the breaker’s impact energy diminishes, so it is important to track the nitrogen pressure and keep it charged.
The Scoop on Storage
Incorrect storage can lead to strike piston rust, which can damage lip seals, the strike piston and cylinder. For proper storage, first remove the tool and use an air hose to expel moisture, blowing air into the tool retainer pin port. Spray rust inhibitor into the bottom of the breaker to coat the exposed portion of the strike piston. Grease the tool, then reinstall it and the tool retainer pin. Store the breaker in a dry location or cover it to keep out precipitation.
The Bottom Line
Employing both operational and maintenance best practices will take contractors and producers a long way toward maximizing the life of their compact breakers. It is true that if you take care of your breakers, they will take care of you.
Casey Hilderbrand is the service manager, Southeast, for Montabert in North America.
Breaker Operation Do’s and Don’ts
- Don’t dry fire. Operating the breaker without enough pressure on the tool causes the strike piston to hit the tool and throw it against the retainer — potentially damaging the retainer, tool and breaker.
- Do operate the breaker perpendicular to the material and not the ground. Operating at 90° to the material being broken avoids side loading and excessive bushing wear.
- Do operate at short intervals. A good rule of thumb is to operate for 25 to 30 seconds. If the material hasn’t broken, stop and reposition the breaker.
- Don’t use the breaker as a pry or positioning bar. Doing this puts stress onto the bushing. If necessary, the bottom of the breaker housing can safely push material.
- Do start on the outside of the material and work your way in. Starting in the middle of the material makes the breaker work harder, and it sends energy back into the breaker and carrier, causing wear.
- Do make sure the carrier is set up correctly from the start — from the correct hydraulic flow to adjusting the excavator relief valve and return line pressure.
- Do keep an eye on the excavator oil temperature, and make sure the carrier oil cooler stays clean. Make sure the hydraulic reservoir is full.