Pipe Preservation
The leaves are falling, and so is the temperature. Before the winter season takes hold, a professional landscape company can protect lawn care irrigation systems from any damage those freezing temperatures can cause by taking a few quick steps to winterize the pipes and components. Some irrigation systems are connected to drain valves that claim to be automatic. These auto-clearing and winterization systems, however, can leave water in low spots or voids in the pipe. Winterizing or blowing out the irrigation system with pressurized air is the best way to know that the pipes will be protected from freezing water, cracking and other damage. Here is an easy step-by-step guide to understand the process undertaken to help you have a safe irrigation system until spring.
Step 1: Bring the Right Equipment
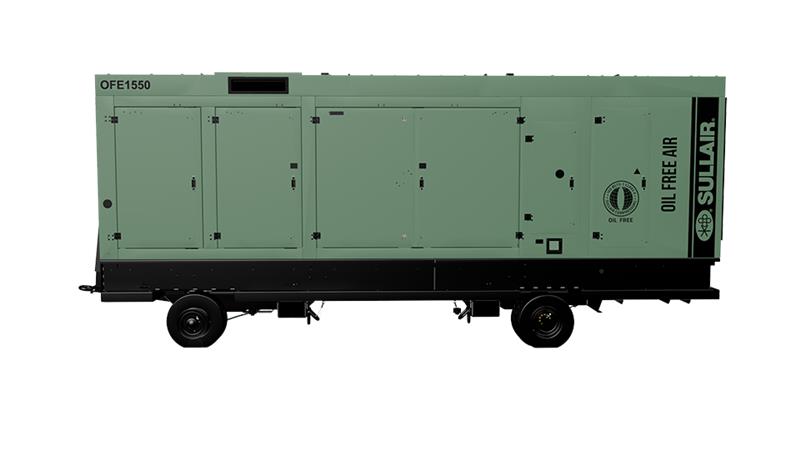
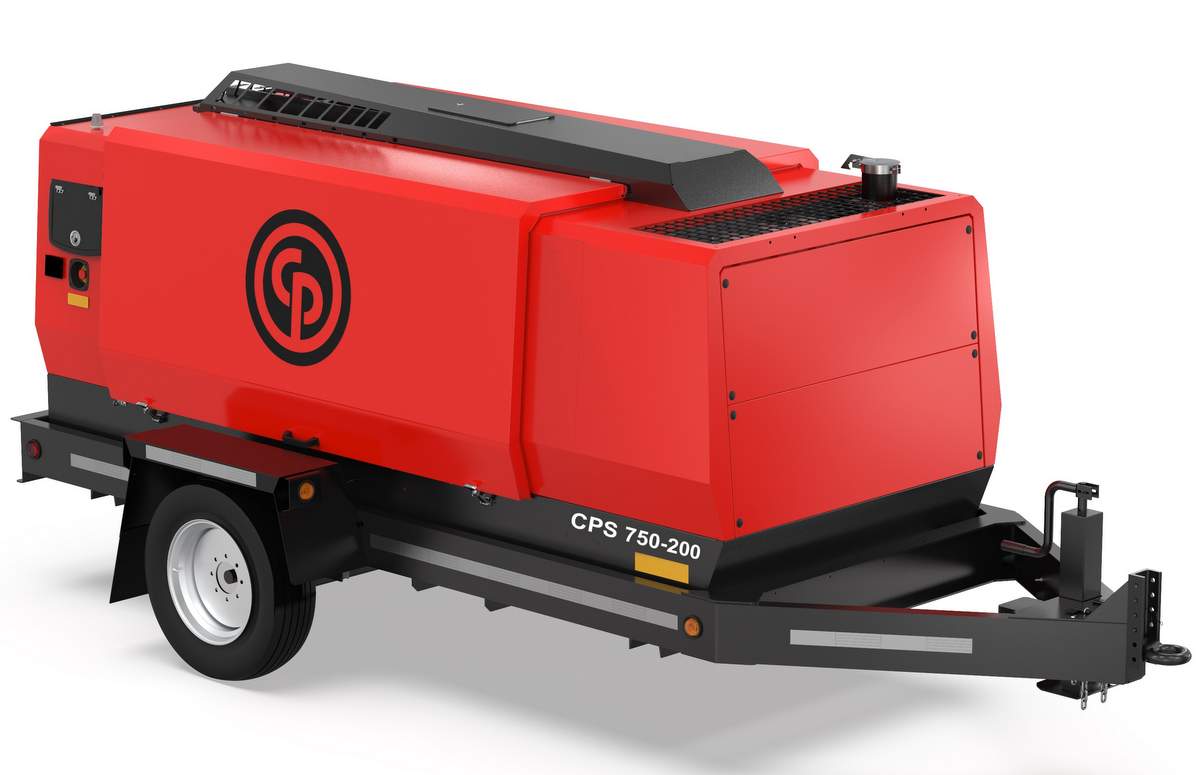
As with any job, using the right equipment is essential. An air compressor that provides 80 to 100 cu ft per minute (cfm) is ideal for this application. A compressor that provides a lower volume than this is insufficient and could allow the pressurized air to flow over the water instead of pushing it out of the irrigation line. The remaining water will sit in low spots in the piping and could lead to freezing, cracking and other potential damage.

T & T Sprinkler Service in Des Moines, Iowa, winterizes over 3,000 irrigation systems each season, which is roughly a six-week period from October 1 to mid-November. To complete the work, T & T Sprinkler Service general manager Mike Meston rents Doosan Portable Power P185 air compressors. “For the work I do during the fall season, I rent P185 air compressors from Rexco Equipment Company,” says Meston. “I like the P185 because it’s reliable. It holds up better, has fewer problems and it’s readily available in this area.
“We’re looking for volume from an air compressor, but we don’t need all of the pressure. We use an external regulator to regulate the pressure down to somewhere around 80 lbs [per square inch, or psi],” he says. However, an ideal pressure can range from 40 to 100 psi depending on the system. Most of the piping used in irrigation systems is polyethylene pipe or PVC pipe.
Step 2: Prepare the Pipes
Whether it’s a small residential lot or a grand commercial golf course, the first step in winterizing an irrigation system is always the same — turn off the water. The irrigation line, which is separate from the potable water line, is directed from the basement or crawl space of a home, a utility room or in the service station at a commercial facility. Find the line valve and close the connection. If this is the first time winterizing this system, tag the irrigation line connection for quick reference when you want to start the system again in the spring.
Once the water and pressure have been bled from the system, it’s time to connect the air compressor to the drain valve. “We usually hook the compressor to the drain valve downstream from the backflow preventer, a device required by the water department to separate water from the irrigation system and indoor water supply,” says Meston. “The key is to avoid threading the air compressor connection too tight to where the fitting cracks.”
Connect the air hose, ensure all other drain valves are closed and the system is ready for winterization.
Step 3: The “Blow-Out” Method
The irrigation system for most areas, residential or commercial, is separated into stations or zones that can be run at different times. Using the irrigation controller, start or turn on one zone of the irrigation system, then turn on the air compressor to the pressure and volume required to blow out the system. “When you complete the process zone by zone, you have less chance of breaking part of the line or one of its components apart with the pressurized air,” says Meston.

With 21 years of experience in sprinkler services, Meston shares a few essential tips on winterizing an irrigation line:
- “Wear safety eyewear to protect the eyes and face from any possible debris.
- “Though it’s often recommended to start with the zone farthest from the air compressor, start with the station called ‘zone one’ to ensure all zones are winterized.
- “The job is completed when the sprinkler head is spouting a water vapor or mist instead of water.
- “Once we’ve blown out each zone, we like to hit each zone again with about five seconds or less of pressurized air. By doing this we can make sure any voids or low spots in the pipe get completely flushed.
- “Avoid running the air compressor for minutes at a time. Compressed air moving through dry pipes can cause friction, which produces heat. Because most systems are PVC pipes, the heat could melt and damage the system and the fittings.”
Whether you’re looking to add this service to your company’s repertoire or hire a professional to complete the job for your clients, following this simple three step guide to winterizing an irrigation system can help save time and money in the long run. The short process is an effective way to ensure an irrigation system will run smoothly and be less likely to have damaged fittings, piping, valves and other components the following spring.
Sara Broek is the public relations specialist with Doosan Portable Power, based in Des Moines, Iowa.
Winterize Your Wheel Loader
By Kelly Moore
Now is the time to prepare your fleet of wheel loaders for the frigid task of winter snow removal. It is important to plan ahead and make provisions to cover all needed service, adjustments and maintenance. Start out by reviewing the operation and maintenance sections of the wheel loader’s operator’s manual — this is vitally important for ensuring every step is followed in keeping the machine in tip-top condition for winter operation.
There are three basic procedures to perform: check, clean and inspect. First off, spearhead leakage checks, functional checks and lubrication and filter checks. Winter snow, ice and cold temperatures are progressively harder on the operation of compact wheel loaders (and other compact machines for that matter). The more closely these maintenance procedures are followed, monitored, recorded and repeated, the more likely the chances of good winter operation and longer machine life.
- With the colder temperatures, it is most important to check the battery to ensure it is fully charged — additional charging may be needed on any unit that has to remain outside in near or sub-zero temperatures.
- Ensure the liquid-coolant is meeting the temperatures for your local conditions.
- Ensure the correct low or ultra-low sulfur diesel fuel along with changing to 2-D diesel in colder climates.
- Engine oil must be changed to meet colder climates and follow the season/temperature range in the operator’s manual.
- Check tire pressures to maintain minimum cold check air pressures equally on all four tires.
Kelly Moore is the product manager for Gehl articulated wheel loaders, based in West Bend, Wis.


